how to draw 3d shapes step by step
3D shapes are all around united states of america, and pretty much every single thing we see surrounding us is made upwardly of them.
The challenge with 3D shapes is portraying them on a 2D page, making many people wonder whether they can learn how to describe 3D shapes.
Luckily, when you know what to do it tin be not only possible merely easy to do if yous know the steps!
If you would similar to learn how it'south washed, then you're in the right place!
This pace-by-pace guide on how to depict 3D shapes will show you how piece of cake it tin can be!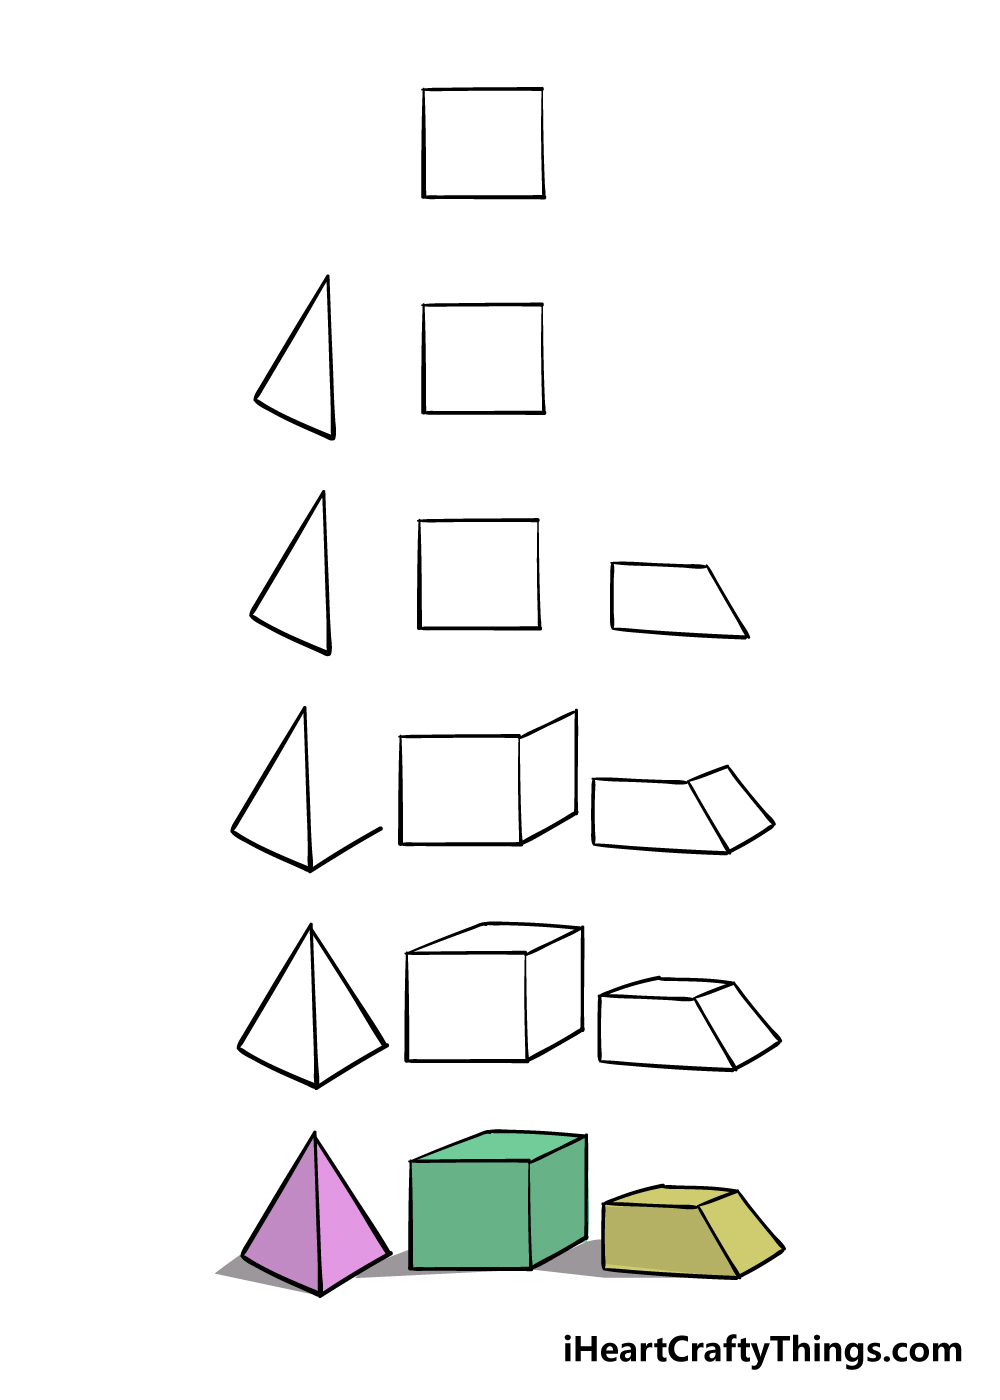
What's in this Blog Post
- How to Describe 3D shapes – Allow'south Get Started!
- Stride i
- Step 2 – Describe a triangle shape for this step
- Stride 3 – Depict a trapezium shape
- Footstep 4 – Start drawing the 3D aspects of the shapes
- Step 5 – Terminate off the concluding sides of the shapes
- Stride half-dozen – Terminate off your 3D shapes cartoon with some color
- Your 3D shapes Drawing is Complete!
How to Draw 3D shapes – Let'due south Get Started!
Step one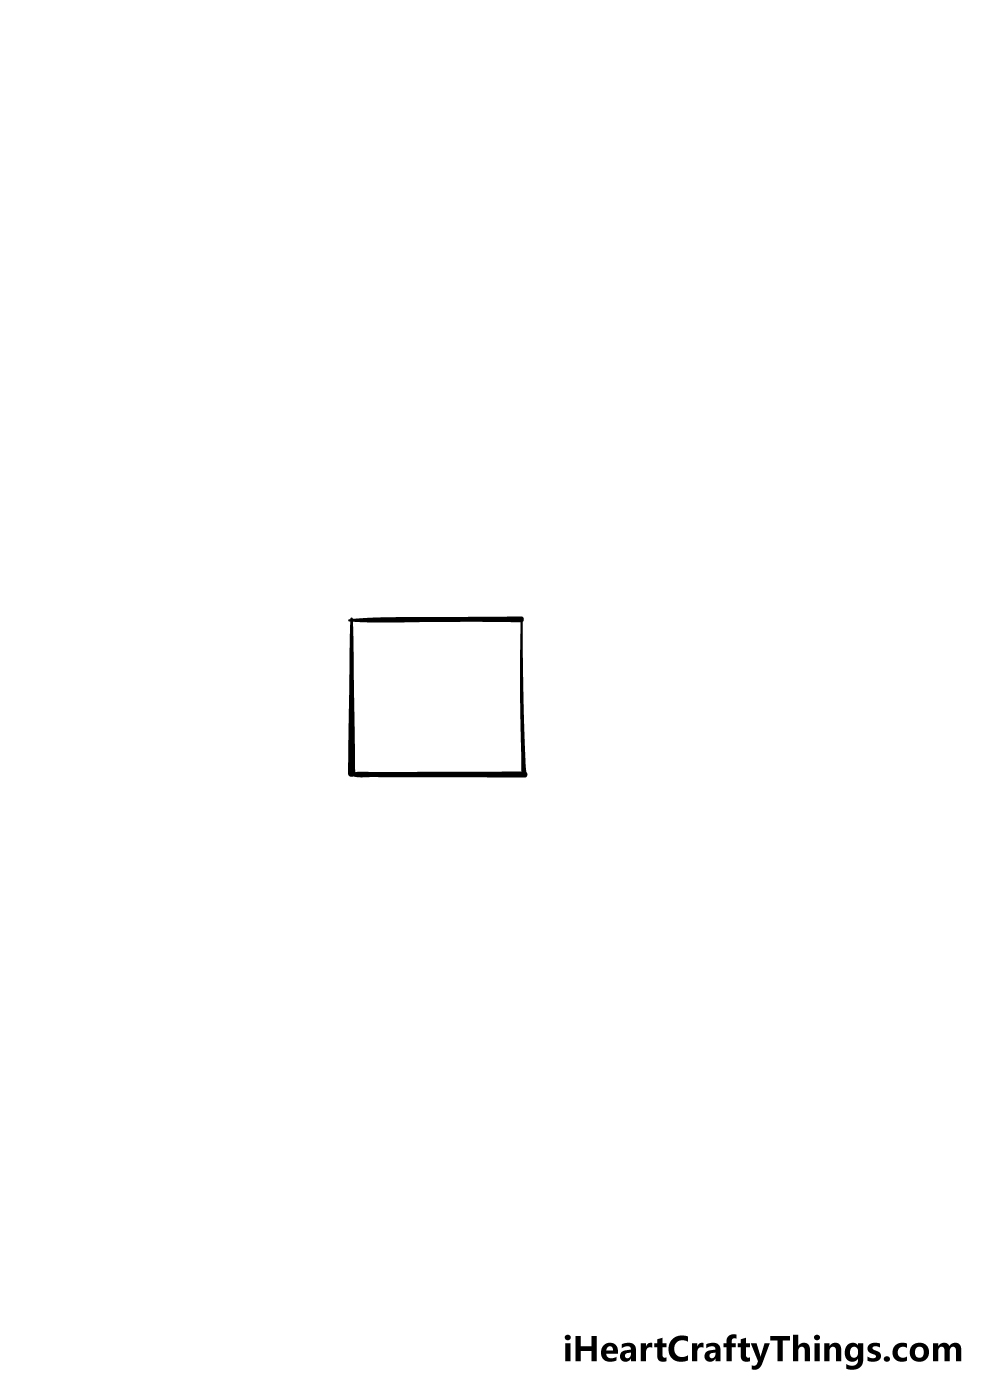
For this first step of our guide on how to describe 3D shapes, nosotros shall start with a square that will turn into a cube.
For at present, if you have a ruler to employ information technology would be very helpful for this step. Using your ruler, simply draw a square that's side are as equal in size as possible. Once y'all have that, we're on to the next step!
Step 2 – Draw a triangle shape for this step
We shall be cartoon a triangle shape for this step of your 3D shapes cartoon. This is another footstep where information technology would be very handy to accept your ruler handy.
The lesser line of the triangle, which will be the shortest, will also exist at a fleck of an bending. Yous can come across how it should look in our reference image!
This picture volition also help you with how the two longer lines should wait.
Pace three – Depict a trapezium shape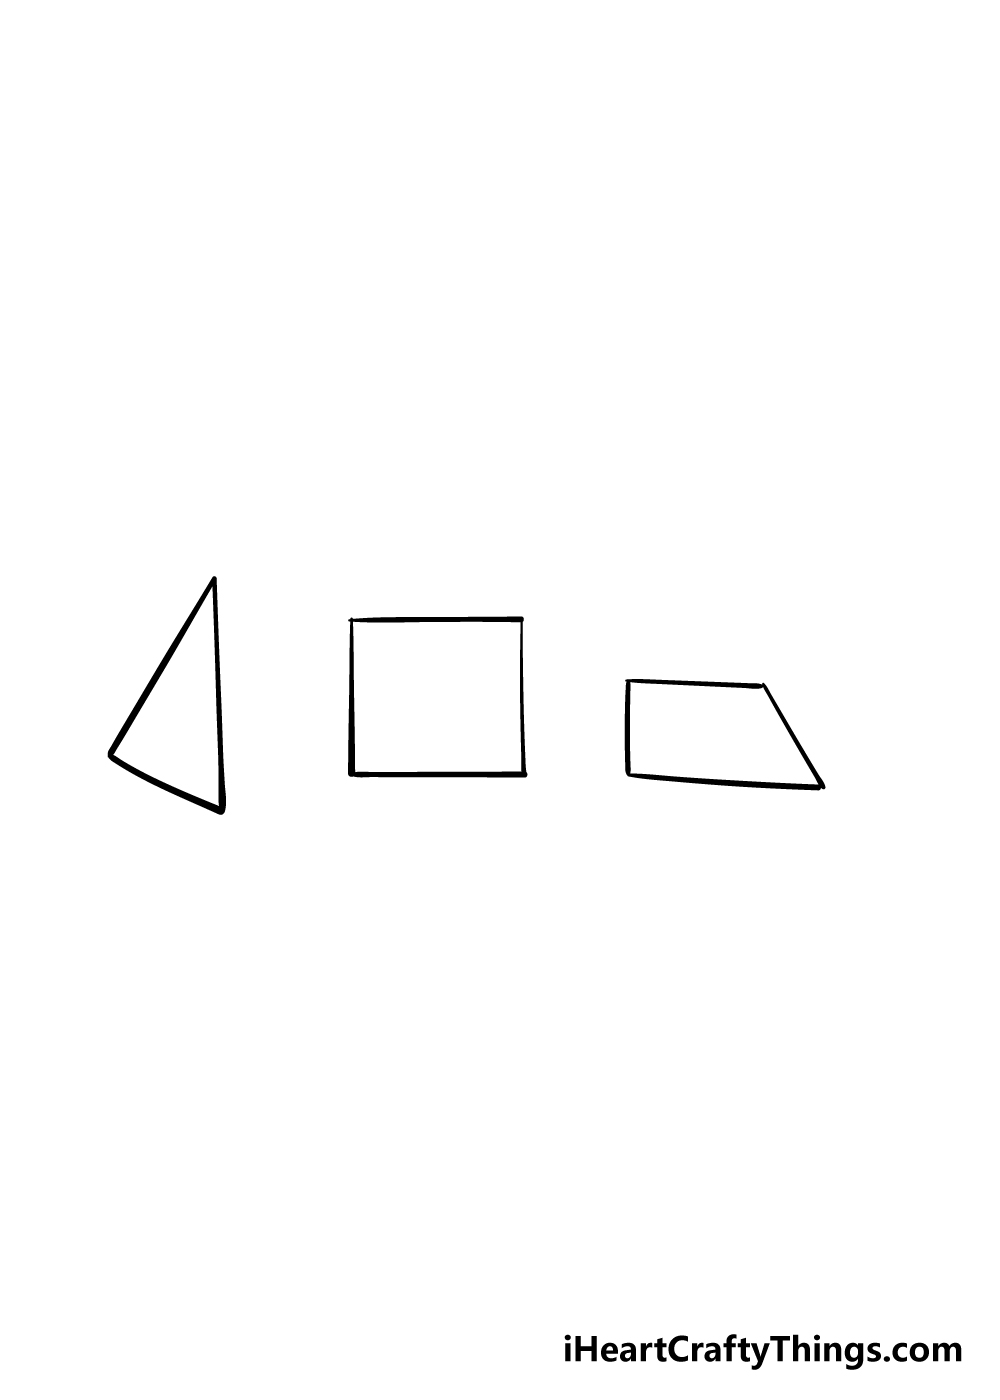
In this 3rd pace of our guide on how to draw 3D shapes, nosotros shall be creating a shape called a trapezium.
This shape looks a flake similar a rectangle, except the line on the right-hand side will be long and sloped, while the top and bottom lines are too not equal.
This is all the same another stride where a ruler would be very helpful indeed!
If yous've never seen a shape like this before, then the reference image volition guide y'all in how it should await.
Now that you have the basic shapes drawn, we shall start adding the 3D effect in the next few steps.
Step 4 – Start cartoon the 3D aspects of the shapes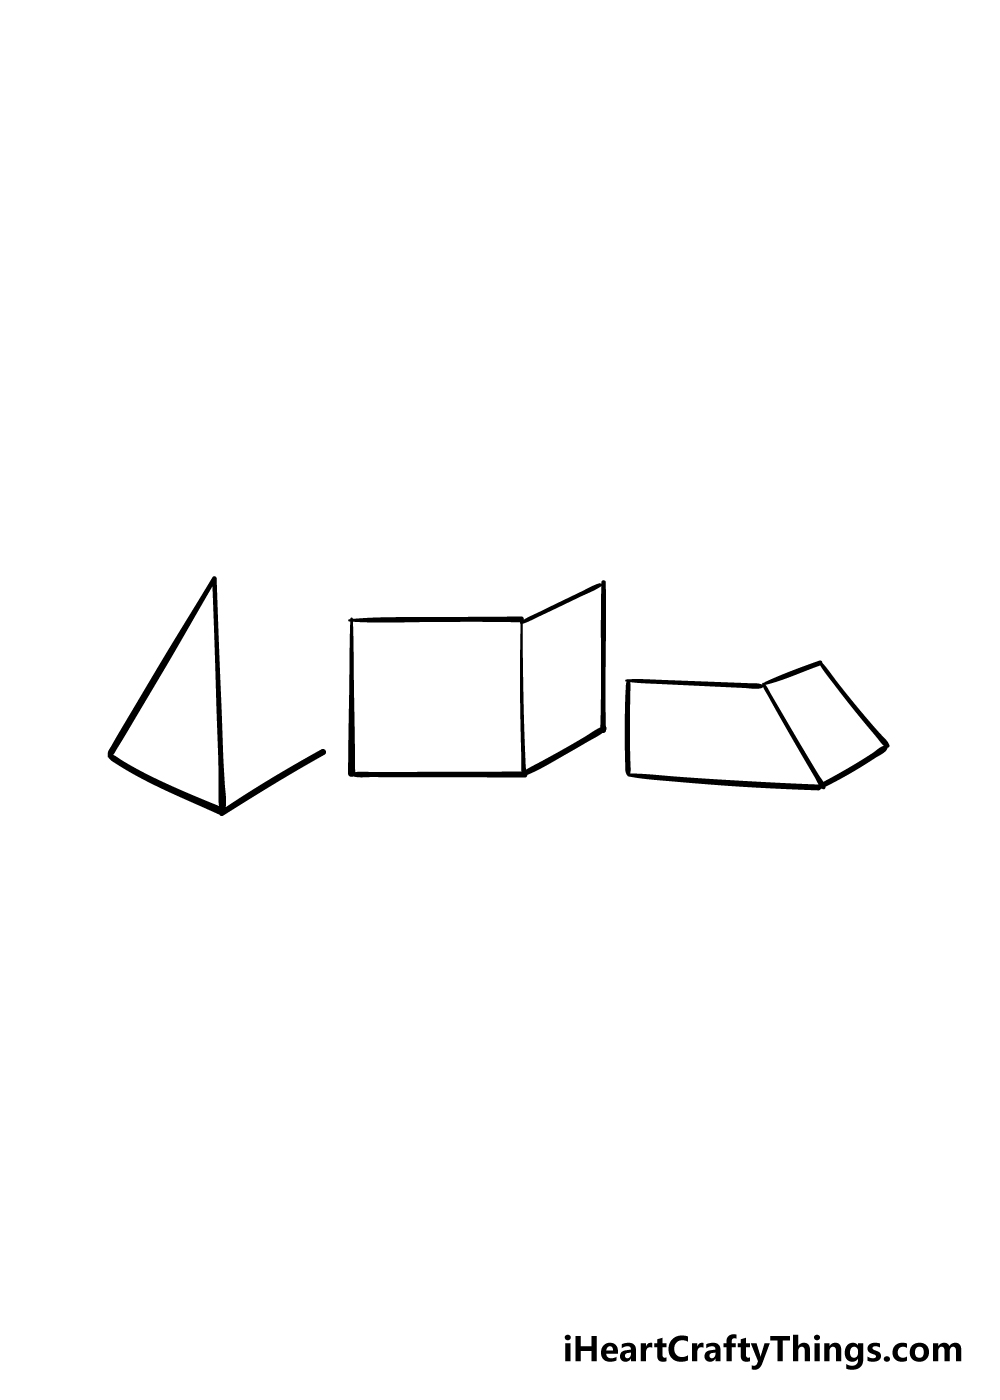
We shall exist cartoon the 3D aspects of your 3D shapes drawing in this step. The reference image will prove you lot how these side by side few lines should look, as they volition be heading "backwards" into the groundwork of the motion-picture show.
These lines will be fatigued starting from the bottom right-mitt corner of each shape upwards into the picture.
The triangular shape will have one line going upward at an angle that will class a function of the base.
The cube shape will have three lines coming upwardly from it that will grade an elongated square shape on the left-paw side.
Finally, the trapezium shape will likewise have three lines added on to make some other elongated square shape.
It may sound complicated now, but the picture will exist very helpful as a visual reference for you equally you describe!
Footstep 5 – Cease off the last sides of the shapes
In this fifth footstep of our guide on how to depict 3D shapes, we shall be drawing the final sides of each shape.
The triangular pyramid shape has one more line needed between the bottom right-paw corner and the tip at the top. You should be able to easily depict that with your ruler!
For the cube, you lot will be needing two more lines, and these ones may be a flake trickier than the concluding line for the triangular shape was.
You may want to use a light pencil for these lines as getting the angles correct can be quite tricky.
Once it's looking like the reference epitome yous can finish off the trapezium.
The final lines of the trapezium shape tin as well be tricky when it comes to getting the angles correct, so information technology'due south some other stride where you may want to depict with your pencil start earlier going over with a pen in one case y'all're happy with information technology.
Footstep 6 – Finish off your 3D shapes drawing with some colour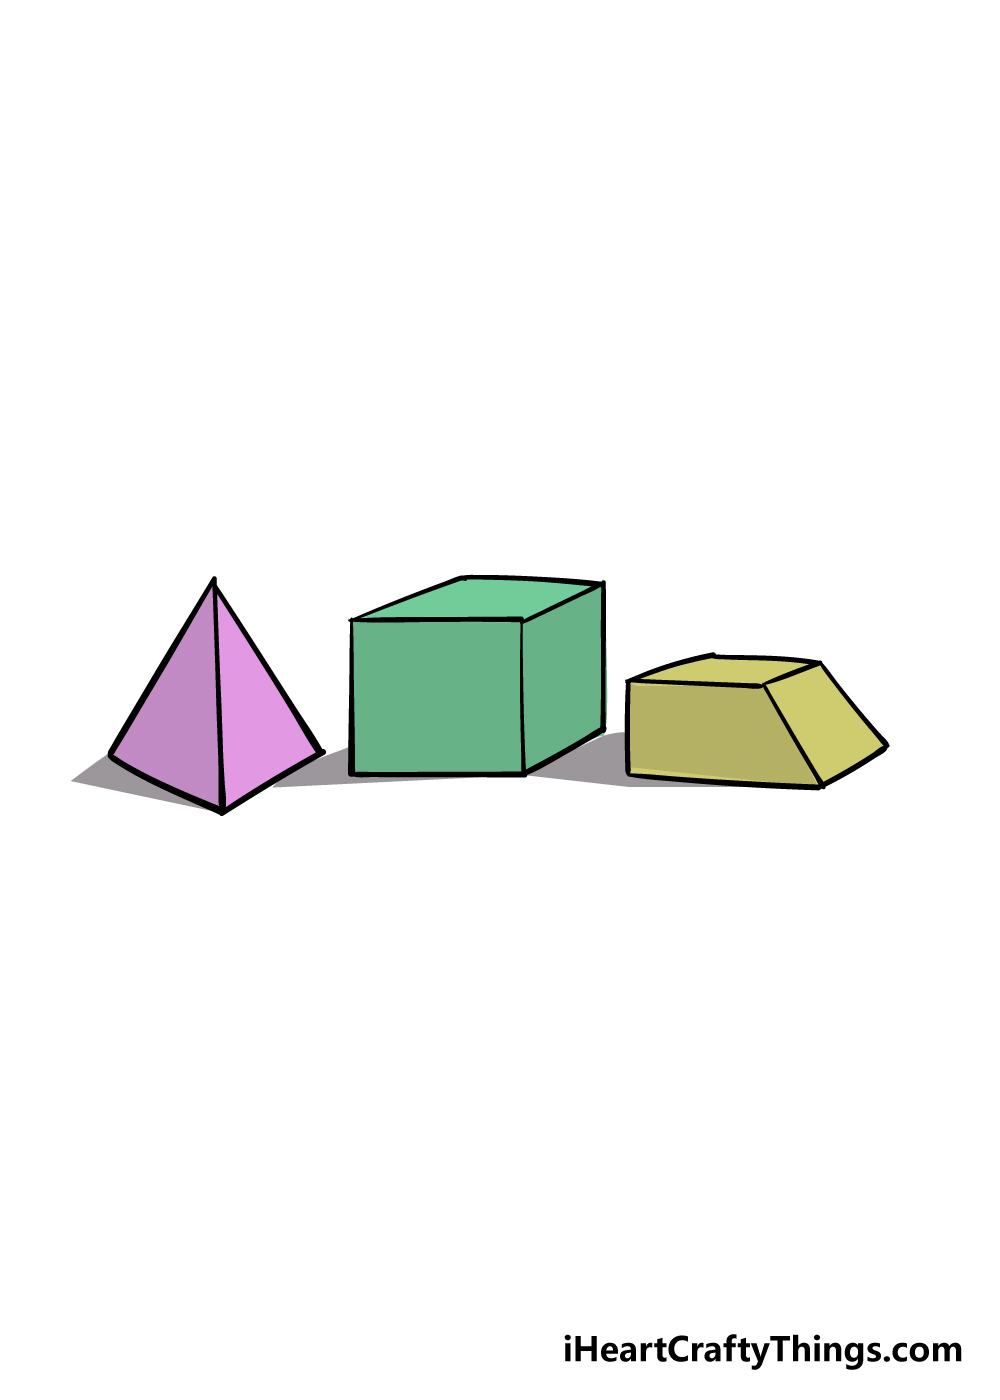
This 3D shapes drawing may have had some tricky aspects to it, but in this final step you have finished all the hard parts and tin kick dorsum with some coloring fun!
For our reference motion picture, we used purple for the triangular shape, light-green for the cube and yellow for the trapezium.
While these are the colors that we chose, this is the step where you get to allow your inventiveness really take over!
These shapes that yous take drawn could be any color that y'all can think of, then you should really experience free to brand them look notwithstanding you would like.
Choosing some of your favorite colors is just one fashion to go about it, however. You could also color them in with a forest or metal texture to make information technology wait like they are made out of another material.
You can also have a not bad fourth dimension playing effectually with some cool fine art mediums! 1 fun thing y'all could endeavour would exist to use a different art medium for each individual shape.
How volition you finish off your 3D shapes drawing?
Your 3D shapes Drawing is Complete!
Nosotros really hope that you had a smashing fourth dimension working through this stride-by-footstep guide on how to depict 3D shapes!
Drawing these shapes tin exist harder than it looks if y'all want to go the 3D effect looking right, and then you should be very proud of completing your drawing so well!
At present yous tin take over from us and bear witness usa how you will make these shapes your own!
Whether you draw some textures, utilize some vivid colors or create a fun background nosotros know you'll exercise an astonishing job!
The cartoon fun tin continue for you on our website! We have enough drawing guides to keep you busy for a long time, and the best part is that nosotros upload new ones all the time.
Be sure to cheque in often to never miss out!
We hope that you volition share your completed 3D shapes drawing on our Facebook and Pinterest pages too.
We're very curious to encounter how creative you got with this drawing and we tin't expect to see!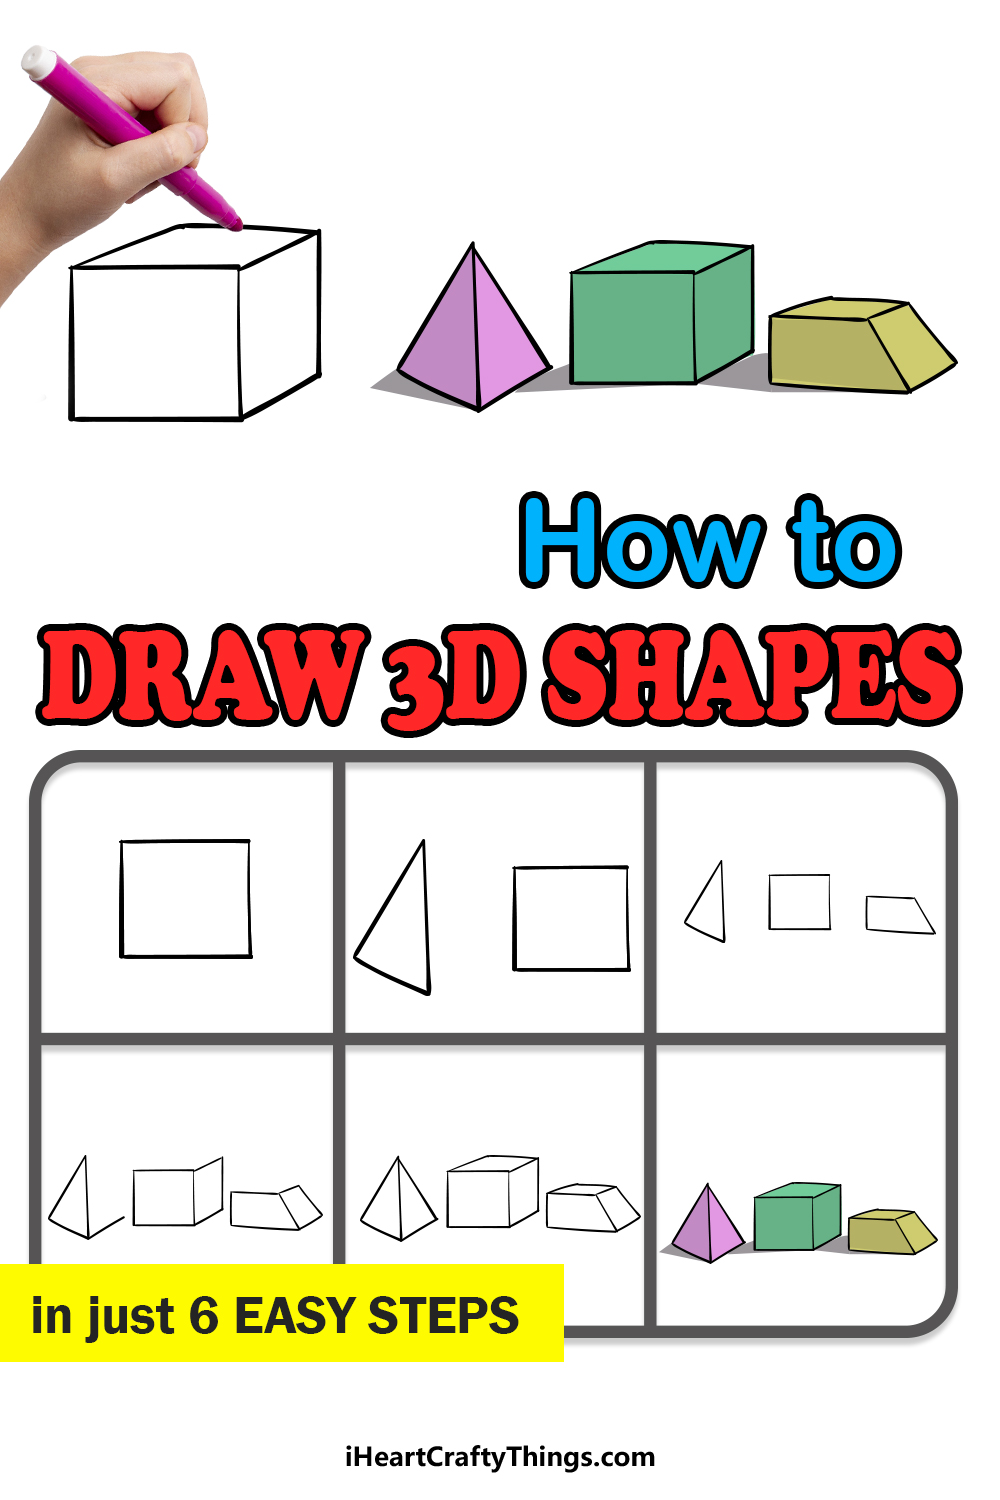
Source: https://iheartcraftythings.com/3d-shapes-drawing.html
0 Response to "how to draw 3d shapes step by step"
Post a Comment